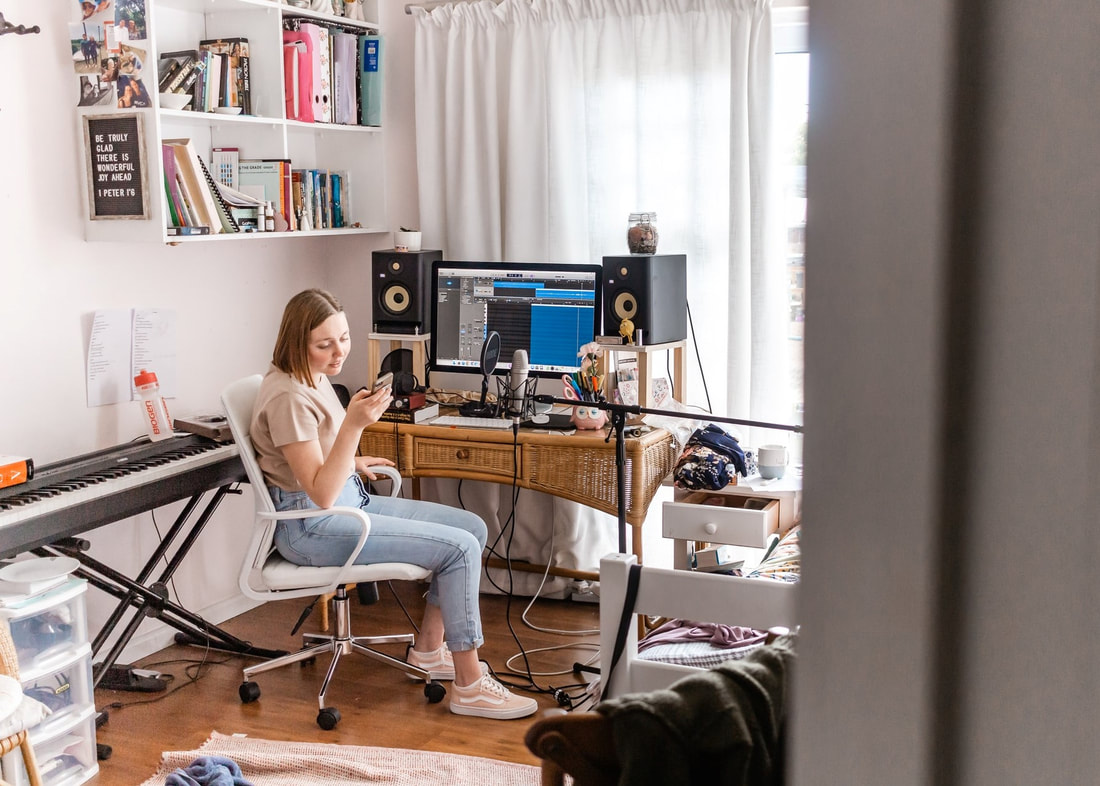
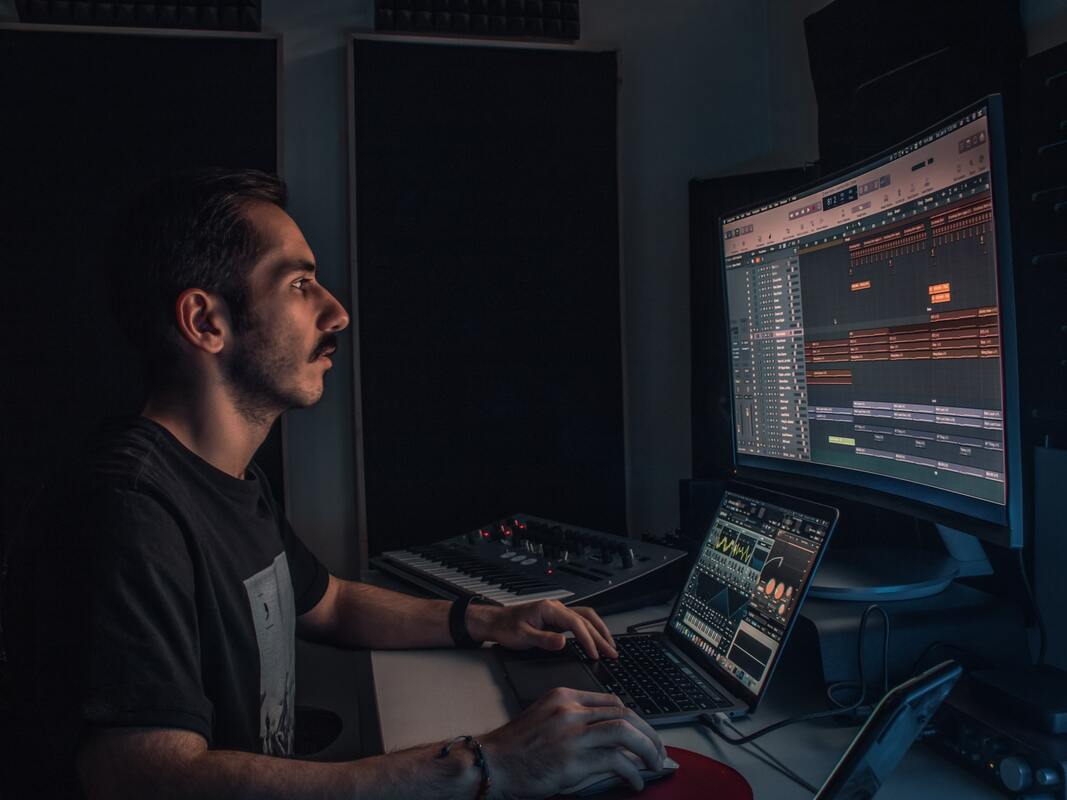
When selecting a studio space, you need to be conscious that some rooms are bad for recording. It is advisable to opt for larger rooms because they allow the audio sound better and more space for movement and gears. You should also select a room in the house with a minute noise disturbance. It will be unwise to go for a room close to the road as car or neighbors noise could interfere with the recording. It is also advised that you pick a downstairs room for your home recording studio to reduce excessive foot noise. The room should have hard flooring (concrete, tiles, or hardwood) as they do not interfere with acoustics.
2. Soundproofing and Acoustic Treatment
Soundproofing and good acoustic will help in the production of quality sound from your home studio. Soundproofing a room helps to minimize the sounds coming in and out that can interfere with recorded audio. It involves blocking every air inlet and outlet (including windows and doors) with heavy and dense building materials. Acoustic treatment helps control the reflection of sounds within the room. The following gears are required for acoustic treatment:
- Bass traps: they are highly specialized in absorbing bass frequencies.
- Acoustic panels: they provide more wall coverage by killing any standing wave between parallel walls.
- Diffusers: helps scatter reflection to avoid sound trapping and preserve the natural tone of the sound.
3. Equipment Selection
- Digital Audio Workstation (DAW): This is a station for recording your audio and instruments, and it has numerous software. The most popular are ProTools, Logic, and Ableton Live.
- Headphones: For a recording studio, you need a musical headphone and not a consumer's own.
- Microphone: There are different microphones in the market, but the top pick for a home studio is the condenser and dynamic microphones.
- Audio interface: It allows you to connect your DAW directly to your microphones. It converts microphone electrical signals to digital signals for the DAW.
- Monitor speaker: They are different from stereo speakers. They are designed to preserve frequencies that dissipate between the studio and home speakers. It is needed for proper EQ and tracks mixing.
Other necessary equipments are secondary computer monitors, a MIDI keyboard, and a headphone extension cable.
4. Recording Station Arrangement
This arrangement is how you want the placement of your working gear to look in the studio. Your working desk and chair should be located centrally for easy access to any equipment. Your desk usually serves as the mixing area, while the remaining space serves as the recording area.
There are different arrangements, depending on the space and number of people intended to use the studio:
- Solo arrangement:
- Dual arrangement:
- Hybrid arrangement:
5. Studio Monitors Placement
The final step is to place the monitor to suit you. The necessary things to consider are; your head position when recording, the wall position, and the position of the acoustic treatment. The monitors should be placed directly towards your head and forming an equilateral triangle. The monitors should be placed on the longest wall (by width) and with adequate space from the rear wall because of bass frequency reflections. You can put the monitors on adjustable stands for easy adjustments.
Your house recording studio can be challenging to set up and can be very expensive. With the right tips, you can plan the process over time and buy needed gears at a rate you can afford. While the process might be challenging initially, in the long run, the result is satisfactory both sound-wise and financially.


