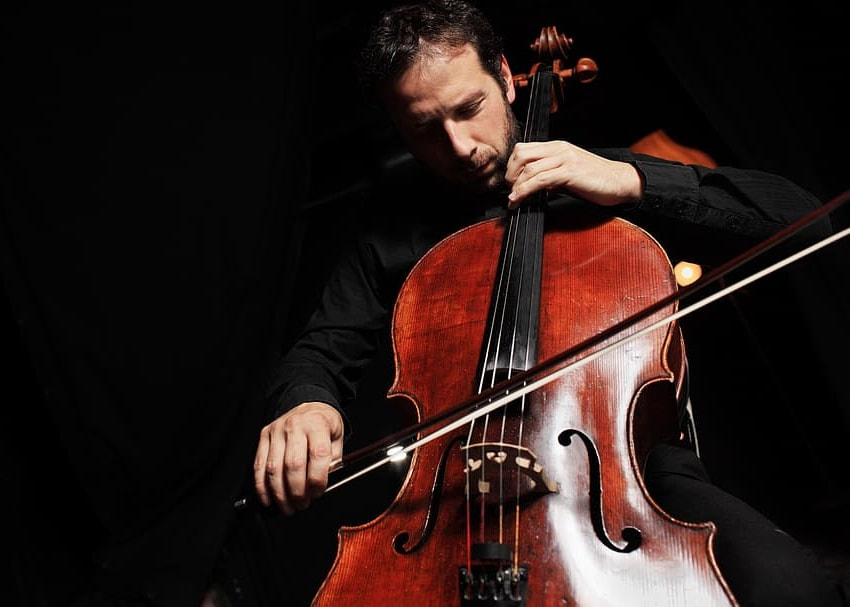
Here are some steps for beginners on how to properly hold a cello bow:
1. Place your right hand on top of your head. Put your right hand forward and make sure it is relaxed and loose. Some call it “The Zombie Drape”, imagining that the muscles are dead. Shake it out a bit to see if there is any tension in the hand.
2. Hold the tip of the cello bow with your left hand guiding it towards the right hand. Align the fourth finger on the eye of the frog followed by the rest of the fingers. Create small spaces in between the fingers and avoid spreading it too far from each other. Making large spaces from the pinky finger and the index finger too far will make it hard for your hand to do some bow changes. On the other hand, keeping it too close will lack stability.
3. It is ideal to place your index finger on the metal piece which is the winding part of the cello bow. Place the middle finger on the ferrule or the metal piece that connects your frog to the bow hair, then rest the ring finger in between the middle finger and pinky finger. Your fingers should be laying flat on the cello bow and not holding it with only the tip of your fingers.
4. Place your thumb sideways, inserting it to the corner of the frog. The pinky finger and thumb should be actively engaged to avoid the bow from falling off. To test this, have the pinky finger and thumb in place and release the other three fingers by taking it to the back and try to balance the bow. Bring the three fingers back on its place and see if your knuckles are sloping down towards the tip of the cello bow.
Additional Tips!
Apart from checking the position of the hand, make sure that your bow arm is creating a continuous gentle slope towards the bow. The head, shoulder, arms, and hands should be loose and relaxed. If you’re still not used to holding the cello bow properly and the bow keeps falling off the ground, practice over a carpet to keep your cello bow from getting ruined. Lastly, celebrate each time you are able to play the cello without tension.


